ClickUp is a versatile project management tool that can be used for various tasks, from managing a team to tracking personal goals. This article will show you how to use ClickUp to its full potential. We'll cover everything from creating tasks, assigning them to team members, setting deadlines, and tracking progress. At the last of this article, you'll be a ClickUp pro!
Steps to Setup Clickup Account
Step 1: Sign Up With Your Email
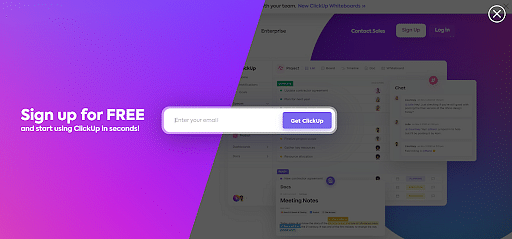
Source: Clickup screenshot
Go to the official website and Sign up for the ClickUp account. You will get a verification code on the registered email once you have done so. When you receive your code, please return to the signup page and enter it. ClickUp Onboarding is now underway!
Step 2: Select an Avatar
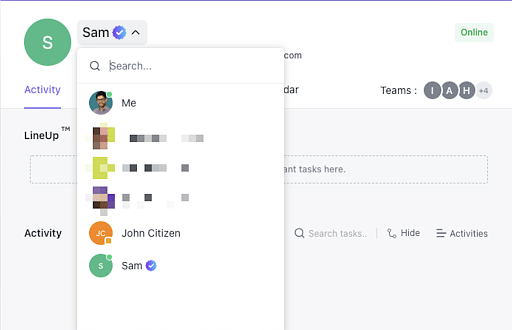
This section will show you how to choose your initial avatar. You can upload a picture or choose a color that will work with the initials. Uploading a picture at this stage is a good idea. After uploading, you can complete any necessary adjustments and click on Save.
Step 3: Choose the Theme Color

Next, select your theme color. It will appear on your ClickUp account. You can choose the one per your preference, as each group member can personalize their theme color according to their choice.
Step 4: Add Integrations: Calendar, Time Tracking, and Cloud Storage
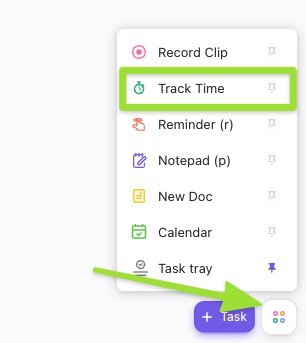
Once you have chosen your theme shade, let's move on to integrations. You can then choose which apps you want to integrate with your ClickUp account (e.g., time-tracking or Google Calendar), Dropbox, and others. You will need to integrate your ClickUp account right away. You can utilize all these tools. You can leave them unchecked if they are not needed. These would be left unselected to make things a bit easier at the start. After your account is set up, you can add any of them later.
Step 5: Select a Workspace and a Team Size
ClickUp will use this area to personalize and simplify the user's experience. It will hide any features intended for teams if you select "It's only me." Select "Me and others" if you wish to use all features or invite the other team members. You can personalize the settings anytime after setup the ClickUp account.
Step 6: Set the Workspace Name
Here, you have to give a specific name to your Workspace. In ClickUp, a Workspace typically is the name for your Organisation, the name of your club, company, non-profit, or anything according to your choice.
Step 7: Sent Invitation to Your Team
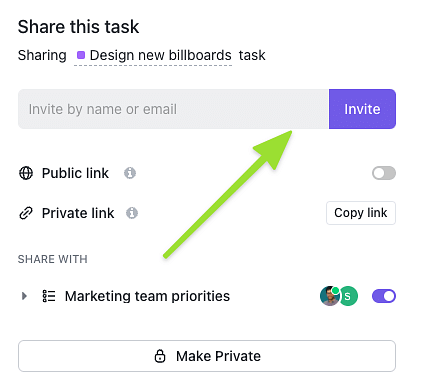
You can invite people directly to the ClickUp account.
Step 8: Select a Workspace Avatar
You can now choose a photo for all around Workspace. We usually recommend setting the company logo because it will display to all your team members using this account.
Step 9: Set a Name for the First Space
After you've created your Workspace, it will ask you to choose the name of your first Space. It's a good idea to name the first Space that you will remember easily, as it will be used as a test area. For now, Make it uncomplicated.
Step 10: Turn On Click apps.
The setup inquiries don't stop here. ClickUp will ask you which ClickApps you want to enable in your ClickUp Space. This refers to the additional features you would like to enable above and beyond the basic. You can enable or disable apps as per your workspace requirements.
Step 11: Add More Integrations
Here, it will give you an option to add additional integration to your Workspace. You will get several options here like ZoomUse, Slack, Zapier, etc. If you are not confident about what to add, ignore it for now. You can choose the one you use most often and move on if it isn't.
Step 12: Import Tasks
Do you have any tools you want to import data from? You can do it after you have settled some ClickUp structures.
Step 13. Click Up Apps
ClickUp offers desktop, mobile, and web apps you might want to add. The Browser Extension is a great way to access ClickUp from any location (including your email).
Set Up Clickup Hierarchy
It can be challenging to determine if your project should go in ClickUp as a Space or Folder, List, Task, or Task. But now, it will not be.
-
Set horizontal ClickUp Hierarchy (Views. Custom Fields, Tasks)
If you want to build the ClickUp hierarchy slowly, It is advisable to start with just one Space and one list. Next, you should focus your efforts on maximizing the ClickUp horizontal hierarchy. This contains Views, Custom fields, and Tasks
-
Set Vertical ClickUp Hierarchy (Spaces Folders Lists)
Add the vertical hierarchy to the mix when you have reached the limits of your horizontal hierarchy. This includes Spaces and Folders as well as Lists. This temptation will lead to overbuilding and overloading the elements. Refrain from succumbing to this temptation! It's considerably more uncomplicated to increase the vertical hierarchy rather than the simplification. Start with the basics!
A Quick Clickup Tour
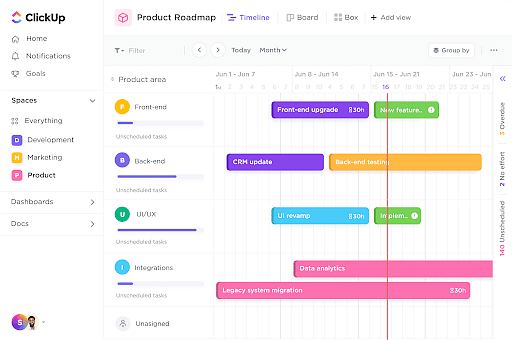
This is a short tour of the ClickUp app to help you get started. As a ClickUp new user, you should be focusing on Home, Tasks, and Notifications. Next, you should interact with Dashboards, Docs, and Quick Create Menu.
-
Home/Inbox
The top of the page is Home. You will find here two tabs that allow you to switch between the Inbox and Home views.
-
Tasks/Spaces
You can find the Tasks and Spaces just beneath the home section. This is where you will spend most of your time. This sidebar shows all tasks in a Table of Contents.
-
Notifications
Next are the notifications! This section lets you see what has happened to your ClickUp account since the last time you used it.
If you are the only person using the app, these will likely be notifications from the clickUp Automations. These notifications will include updates about your team's actions regarding tasks you have been implicated in. When the ClickUp account grows, notifications can become a lot more interesting.
-
Dashboards
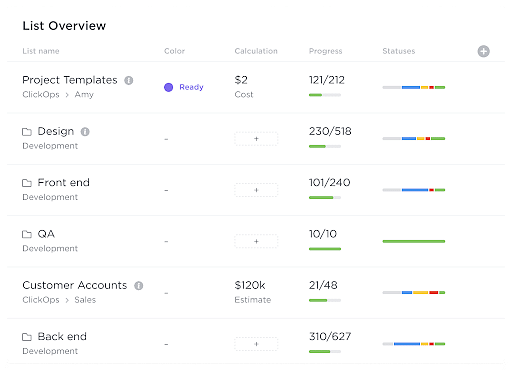
The Dashboards are next. These are the information that you create according to the tasks created. To show your ClickUp account's HQ, you can create multiple setups.
-
Docs
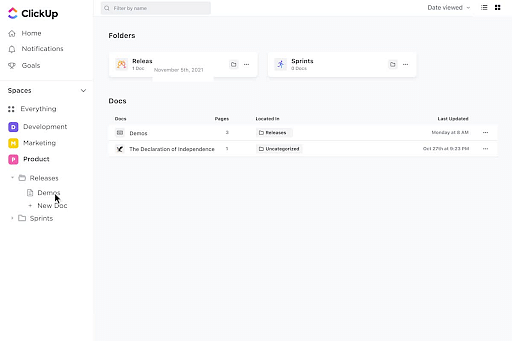
The documents feature lets you start with an uncomplicated, cloud-based document. Although they are called Docs, they are more similar to notebooks. Docs don't have Folders, but Doc pages can be a nest for various innovative organization methods.
Bottomline
ClickUp is a revolutionary task management tool that helps you get work done more efficiently. With ClickUp, you can easily create tasks, assign them to team members, and track your progress. ClickUp also offers various features that make task management more efficient, such as subtasks, due dates, and comments. It is user-friendly and has a wide range of features. This tutorial provided a detailed overview of how to use ClickUp. Check out Simplilearn’s Post Graduate Program in Project Management to start your Project Management journey today!

